
Horsehair and Burlap: Vintage French Upholstered Chairs
A few years ago, I began to be attracted to lovely photos of creatively upholstered furniture. I looked at them with an aim to recreate them myself, and with my creative skill set, I knew I could do that, albeit not without a struggle. I found these old French chairs, which are slightly different, but both in need of serious reconstruction.

These were found at two different places, and were in equally horrible condition. Both were stuffed with crunchy old hardened foam. My aim was to bring them back to fine antique condition, which entailed learning a whole new skill set: traditional upholstery. Techniques used in this method of upholstery involve no foam. I had to learn how to tie springs by hand, stuff with excelsior (wood wool), stitch with twine into burlap, pound tacks, arrange horsehair, and tuft, tuft, tuft.
This sort of trade is disappearing in the U.S.
It is time consuming and takes much practice. It is expensive. However, the finished product is sculptural and long-lasting. It will never harden or crumble. It is authentic. It's also a bit of a hunt to find someone who will teach it to you. I could go to the UK, where the craft is very much alive, and is taught many places, or I could go to Nebraska. I was referred to a master antique upholsterer there who was willing to have me spend a week training in his workshop, so I went.
The week I spent with Kim Buckminster, of Buckminster Upholstery, was eye-opening. There wasn't nearly enough time to learn everything, but I got started on one of these chairs. He taught me many different techniques that I could apply, but most importantly, I learned the FEEL of good upholstery, and that details matter. I left with an awe of his talent and techniques, and a vow that I would do this.
Over the next year or so, I worked on these chairs, off and on. I read old upholstery manuals found at thrift shops and traditional upholstery tomes that aren't even in print anymore, found on Amazon. I did, undid, and redid many of the steps along the way, because they did not meet the standard I was looking for. Tufting was the hardest. It was like an instructor put the same inside back in front of me every day, and I had to strip it at the end of each day until I got it right! But all that was practice, and actually very satisfying, because in the end, I got two skillfully upholstered chairs in the traditional method.
And it was my kind of fun.

French Shield Back Chair Fronts

French Shield Back Chairs Backs
Here are a few progress shots so you can get the idea of all the steps that were involved!

The “tacking-down” phase, over sculpted wood wool and hand-tied springs on webbing.

Blind stitching to sculpt the first stuffing of wood wool. Left chair has two rows of blind stitching and one visible row at the edge, while the right chair has one blind stitch row and two visible rows. The right one is the correct way, but it was fine to leave the left one as-is; the structure is essentially the same. I got a little tired of ripping out by then, so I left it. The tufting on the right chair had the wrong proportions, so it came out later to do over.
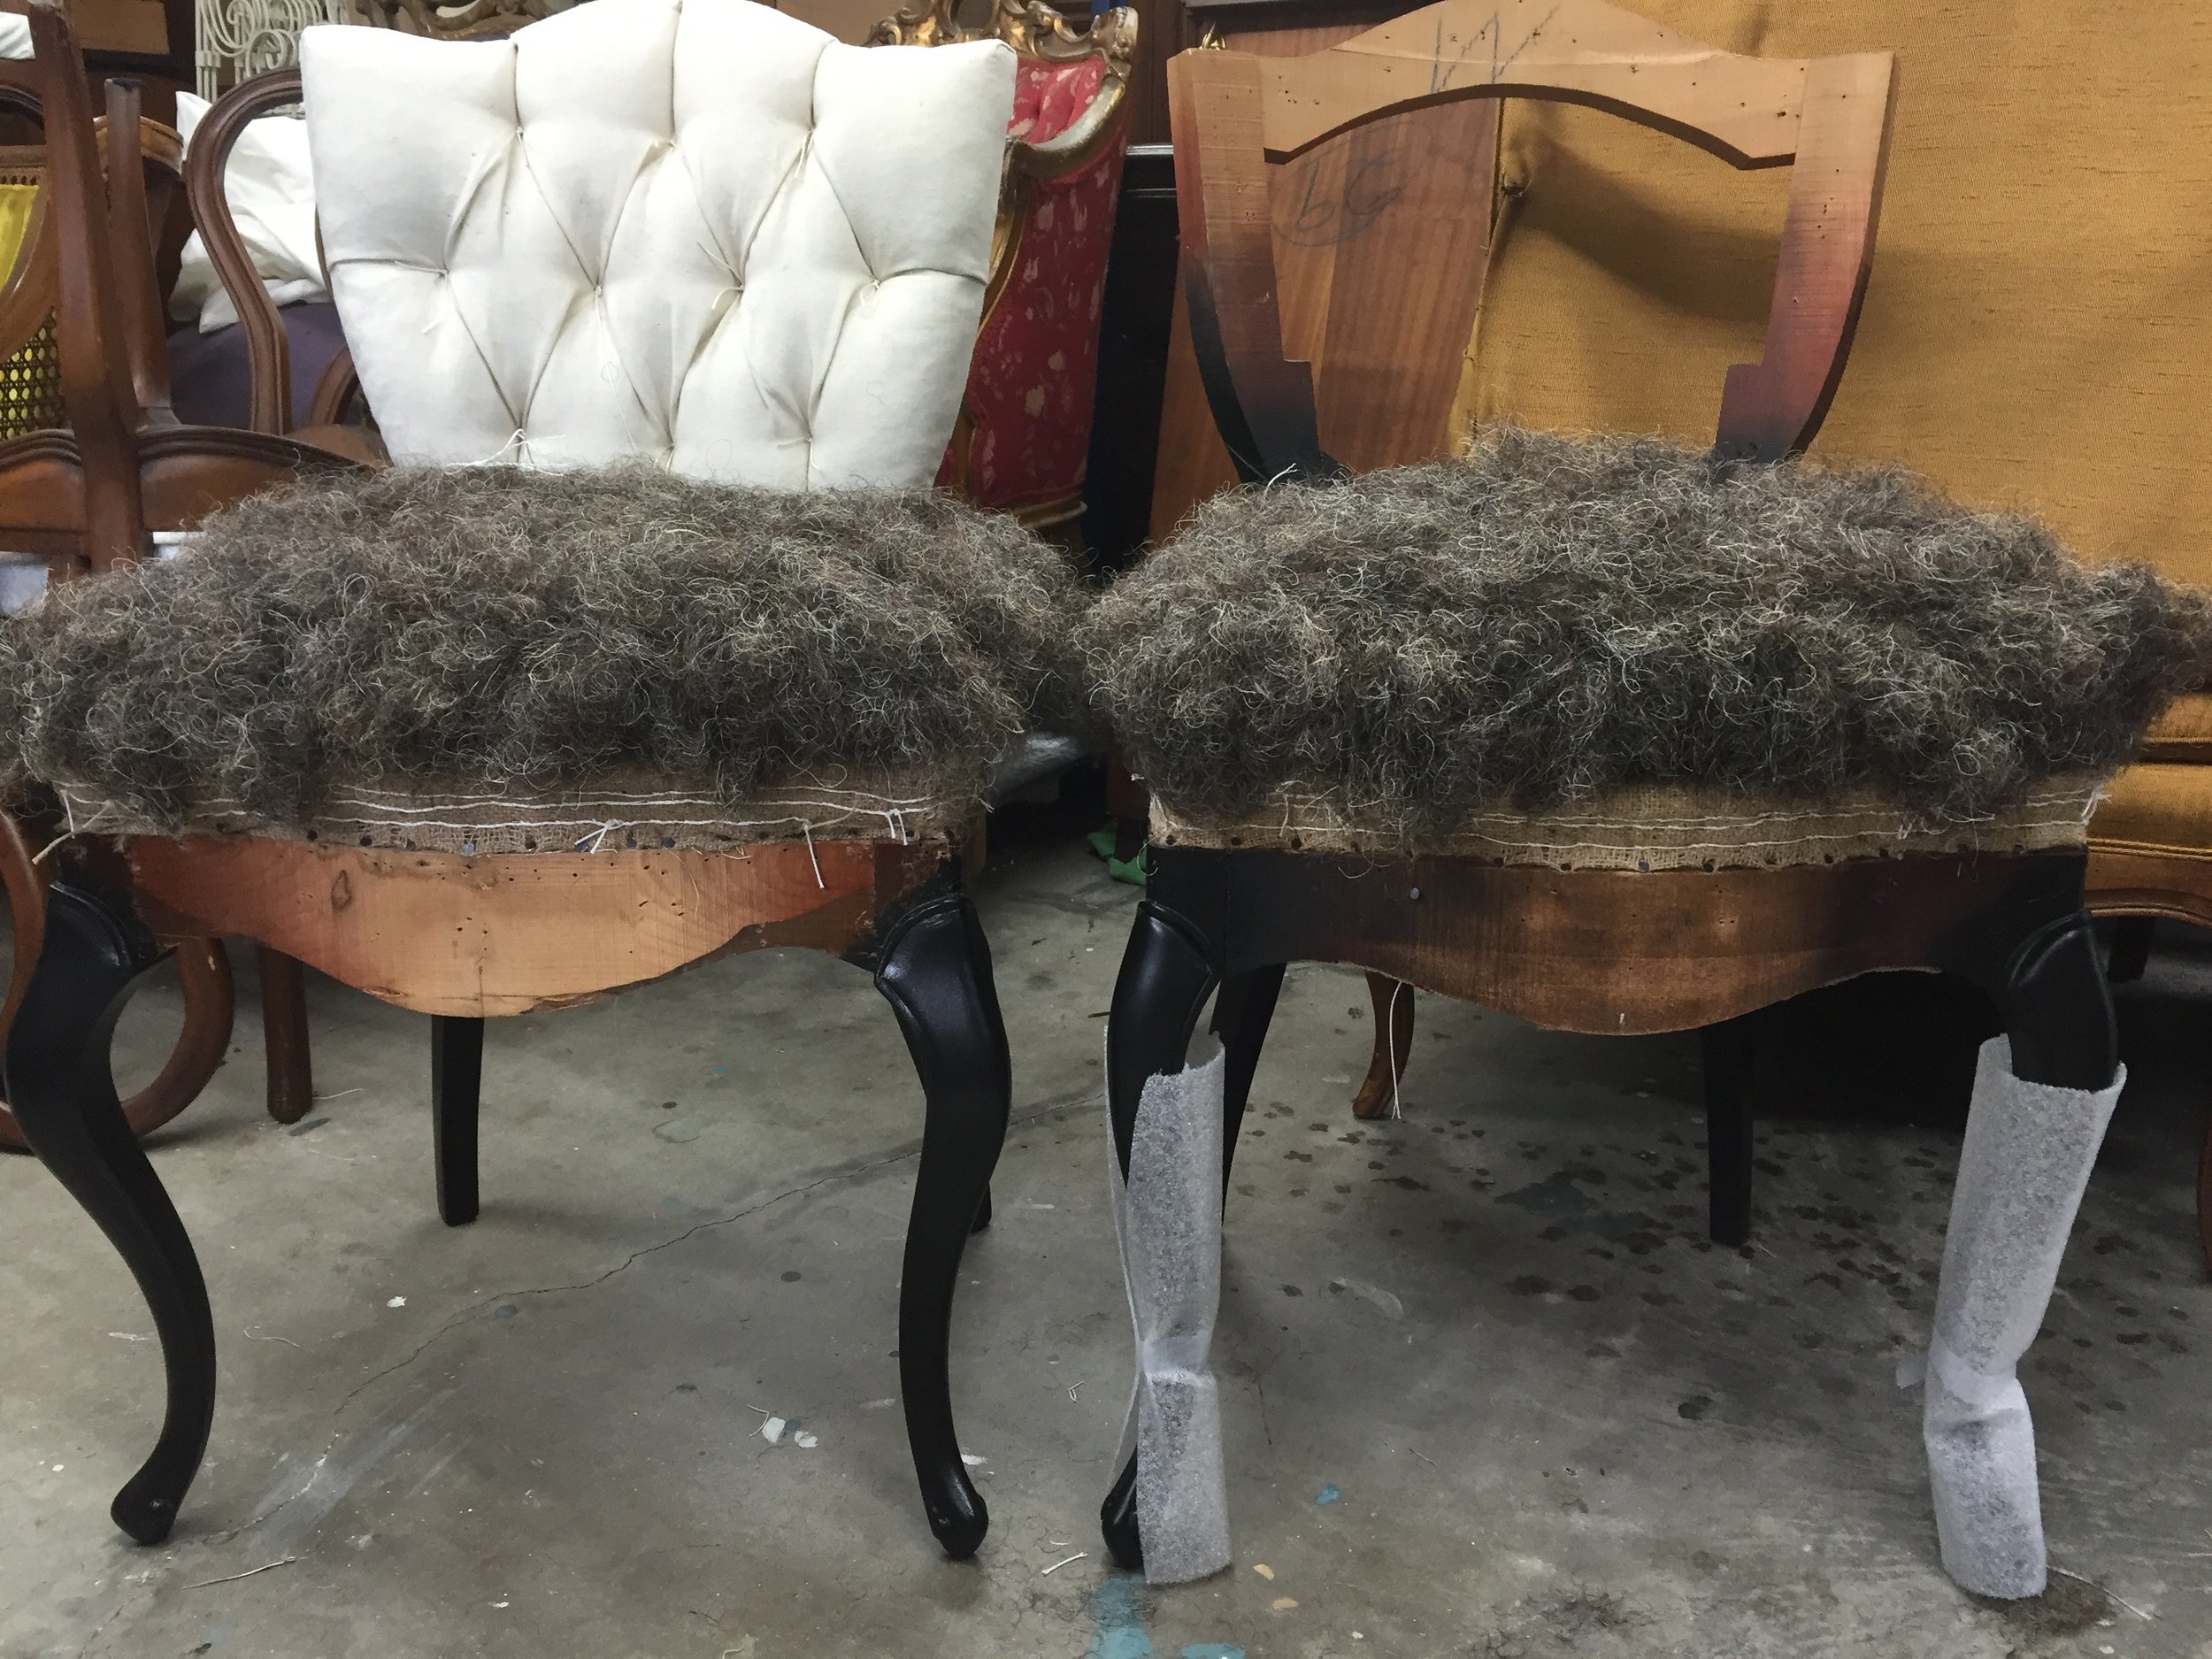
Lots of horsehair for the second stuffing of the seats! It is held in place by “bridles”, believe it or not. Neigh. You can see the stitching lines that sculpt and firm the first layer of stuffing–the wood wool. In future projects, I hope to get those straighter and more even. Details count.

Horsehair second stuffing of the seats is now tamed. The horsehair tufted backs are not even–I ripped out the right one yet again after this photo to restuff so the fabric would fold better in the diagonals. In the seat, you can see the firm sculpted edge that gives the chair its structure and shape. There will be no sagging of the front here when you sit!

After getting the tufting right, this is what the backs look like. I ended up using seat webbing because I was unhappy with just sagless burlap to hold the tufting. Now it’s really secure and firm. Makes me happy, even though no one will see this. By the way, I switched to staples at this point because even purists have to take an acceptable shortcut in the interests of time and frustration. As an amateur, I needed three hands to complete this with tacks, and I only had two.

Here’s the fitted back being hand stitched to the cording. The back got some cotton stuffing in the void and sagless burlap, another layer of cotton, and this pretty fabric. Stitching is fairly therapeutic for me, and curved needles are a necessity. The cording is tightly twisted, so it was tough to put the needle through, making this a not-so-quick process.

After stapling the cording on, I had to snug it up to the edge of the chair for the best look. This entailed more hand stitching, and removal of the cording lip around the legs. The brighter pink wool seat back here was one of those steps that got redone because I didn’t feel it was stuffed properly. After removing it, it had too many tack holes in the back and had been trimmed already, so I really couldn’t put it back on easily. I switched to the velvet at this point.


This is not a tutorial.
It is my attempt to shed some light on the upholstery trade I admire. I see so many upholstery tutorials in blogland made by people who don't do upholstery very well, and shouldn't be telling other people how to do it. The "looks okay to me" style of upholstery, with crooked box cushions and loose, wrinkled fabric causes people to be fine with a lower standard. I have found that most people don't even know what their furniture is stuffed with. Some think that quality upholstery is "too expensive", so they buy at mass-market low-grade furniture stores. Not surprisingly, those pieces have very short useful lives when the foam disintegrates or sags, and are not worth recovering.
Personally, I look at furniture differently now.
Foam has its place, such as in contemporary or mid-century modern pieces, but it also has different levels of firmness, quality, and longevity. I am a firm believer that you get what you pay for! These chairs will have a long life, and when the fabric wears a little, you'll only need to take the finish fabric covers off and replace them. The guts will stay in shape for the next 50 years!
I'll be attempting more traditional upholstery projects. I've started on a set of six antique French dining chairs and they won't take me as long because there's no tufting, and I know better what I'm doing now!
These cuties are for sold. Contact me directly for a custom piece, or go to my shop. I have a lot of beautiful, skillfully done, one-of-a-kind vintage furniture pieces for sale there.